区块链开发(六)以太坊系统下truffle构建智能合约
truffle环境安装
针对truffle 环境安装这里不多叙述,可以搜一下…
初始化
打开终端创建一个目录
mkdir test
cd test
truffle init
会生成文件
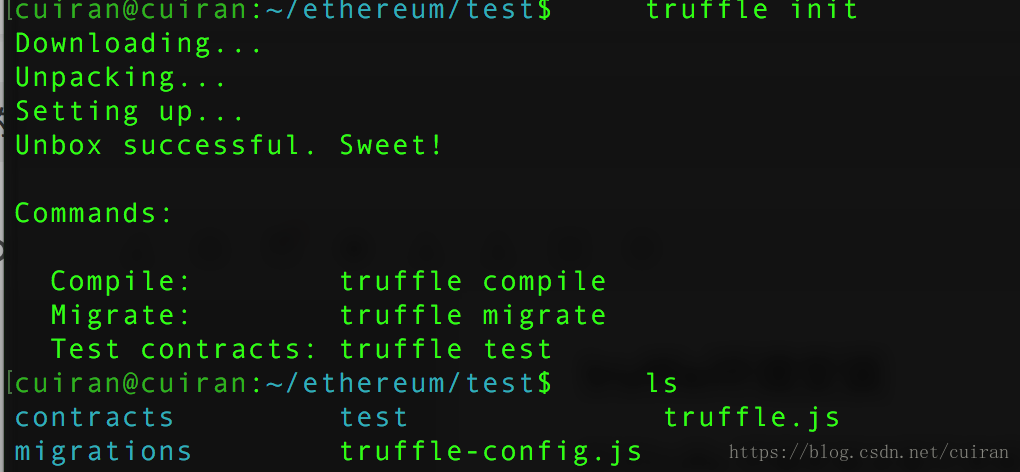
新建合约文件
然后可以用vscode打开test目录
新建一个合约
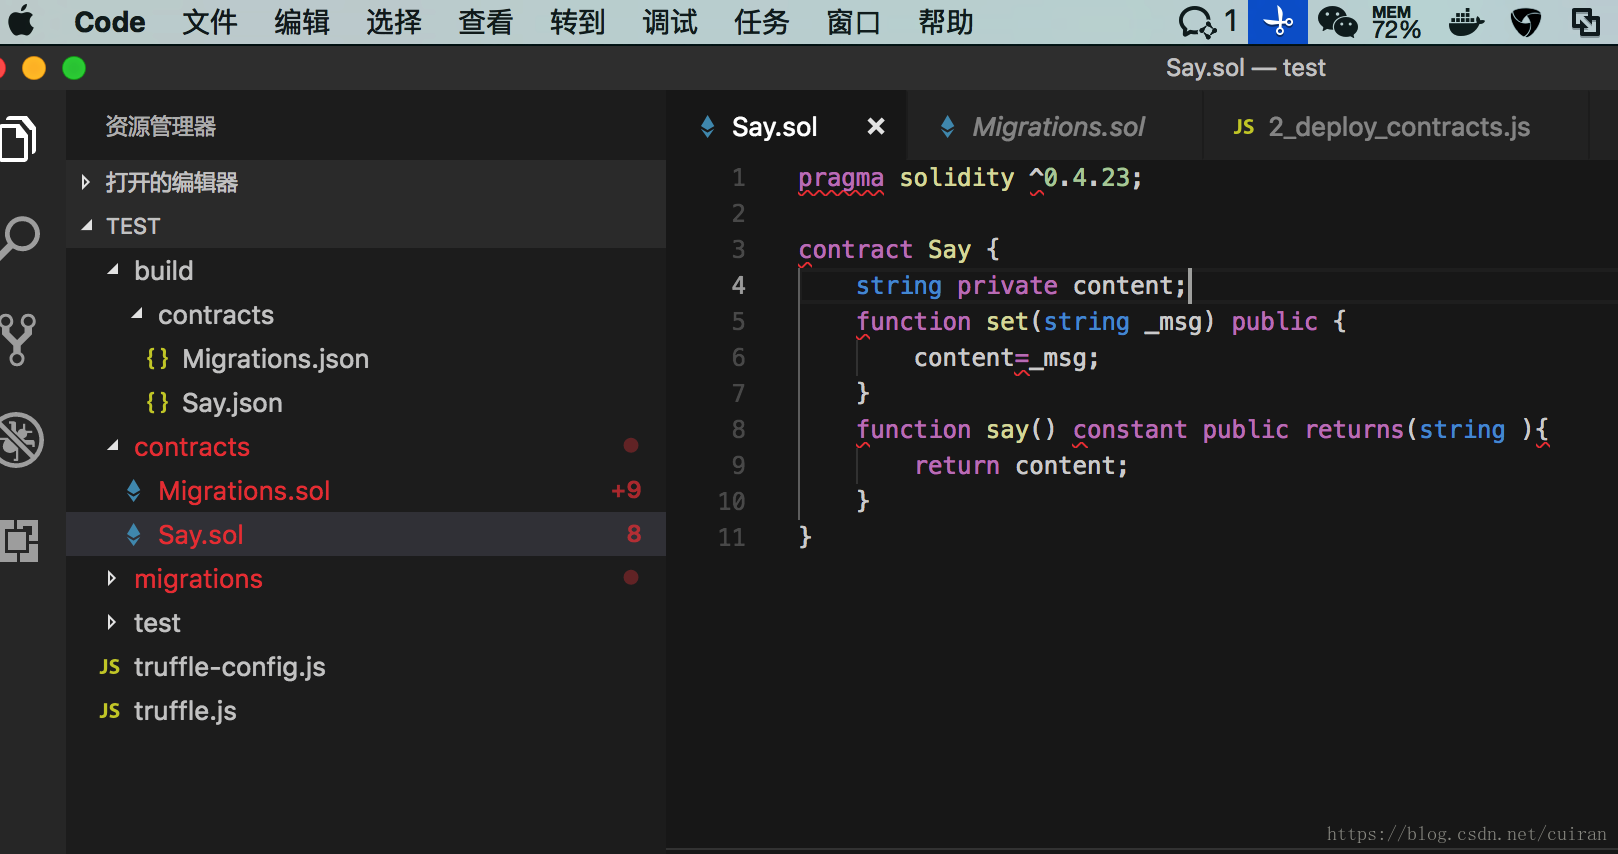
pragma solidity ^0.4.23;

contract Say {
    string private content;
    function set(string _msg) public {
        content=_msg;
    }
    function say() constant public returns(string ){
        return content;
    }
}
增加合约部署文件
在目录migrations新建2_deploy_contracts.js
var Say = artifacts.require("./Say.sol");
module.exports = function(deployer) {
  deployer.deploy(Say);
};
编译合约
执行命令
truffle compile
部署合约到区块链上
修改目录下的文件truffle.js
如下(host和port要根据自己的配置来定)
module.exports = {
  // See <http://truffleframework.com/docs/advanced/configuration>
  // to customize your Truffle configuration!
  networks:{
    development:{
      host:"localhost",
      port:8545,
      network_id:"*",
      gas:3000000
    }
  }
};
在部署之前先解锁账号 ,并启动挖矿
personal.unlockAccount(user1)
miner.start()
然后执行truffle migrate 部署合约
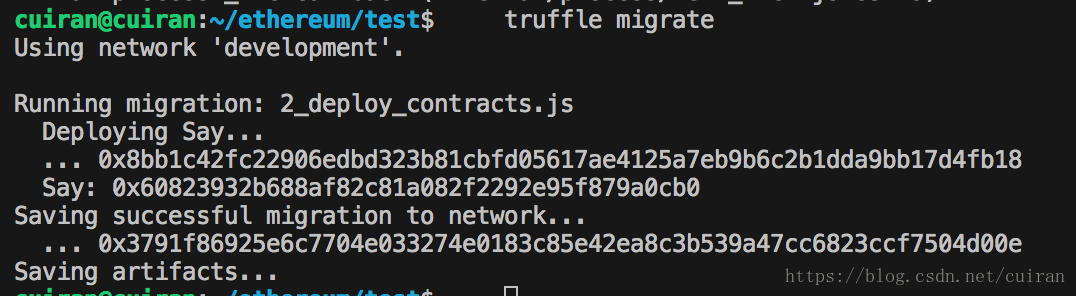
这样合约就部署成功了,但是怎么调用呢?下面会讲到
合约调用
配置参数参数位于truffle中的build/contracts目录下的Say.json文件中
可以打开文件查找到
配置abi参数
 var abi=[
            {
                "constant": false,
                "inputs": [
                    {
                        "name": "_msg",
                        "type": "string"
                    }
                ],
                "name": "set",
                "outputs": [],
                "payable": false,
                "stateMutability": "nonpayable",
                "type": "function"
            },
            {
                "constant": true,
                "inputs": [],
                "name": "say",
                "outputs": [
                    {
                        "name": "",
                        "type": "string"
                    }
                ],
                "payable": false,
                "stateMutability": "view",
                "type": "function"
            }
        ]
配置addr参数
var addr="0x60823932b688af82c81a082f2292e95f879a0cb0"然后进行调用即可
var adoption = web3.eth.contract(abi).at(addr)
console.log("获取account[0]"+web3.eth.accounts[0]);
adoption.set.sendTransaction("I'm here!!!", {from:web3.eth.accounts[0]})
var str= adoption.say();
console.log("获取成功"+str);
打印的日志:
获取成功I'm here!!!到此调用智能合约就ok了!!!
更多精彩内容

